


New lamps and electrical outlets are polarized. Rewiring this lamp will make it polarized and updated. The lamp parts needed for this repair include a lamp cord with molded polarized plug and an antique brass turn knob 3 way socket.

First the harp is removed: lift the locking tabs and squeeze the harp to remove it from the harp base.

Next the socket shell is pried from the socket cap. With a flat head screw driver, apply pressure at the shell where the shell is marked "PRESS". Some socket shells are not marked and others might be marked "Press Here". The most common place is next to the turn knob key slot or the push-through knob slot.


A small incision is made in the bottom felt to pull cord slack and push it up to the socket interior. TIP: Some times it is easier to cut the felt then trying to pry it off the lamp. A clean cut will not be noticed when the lamp is in use.


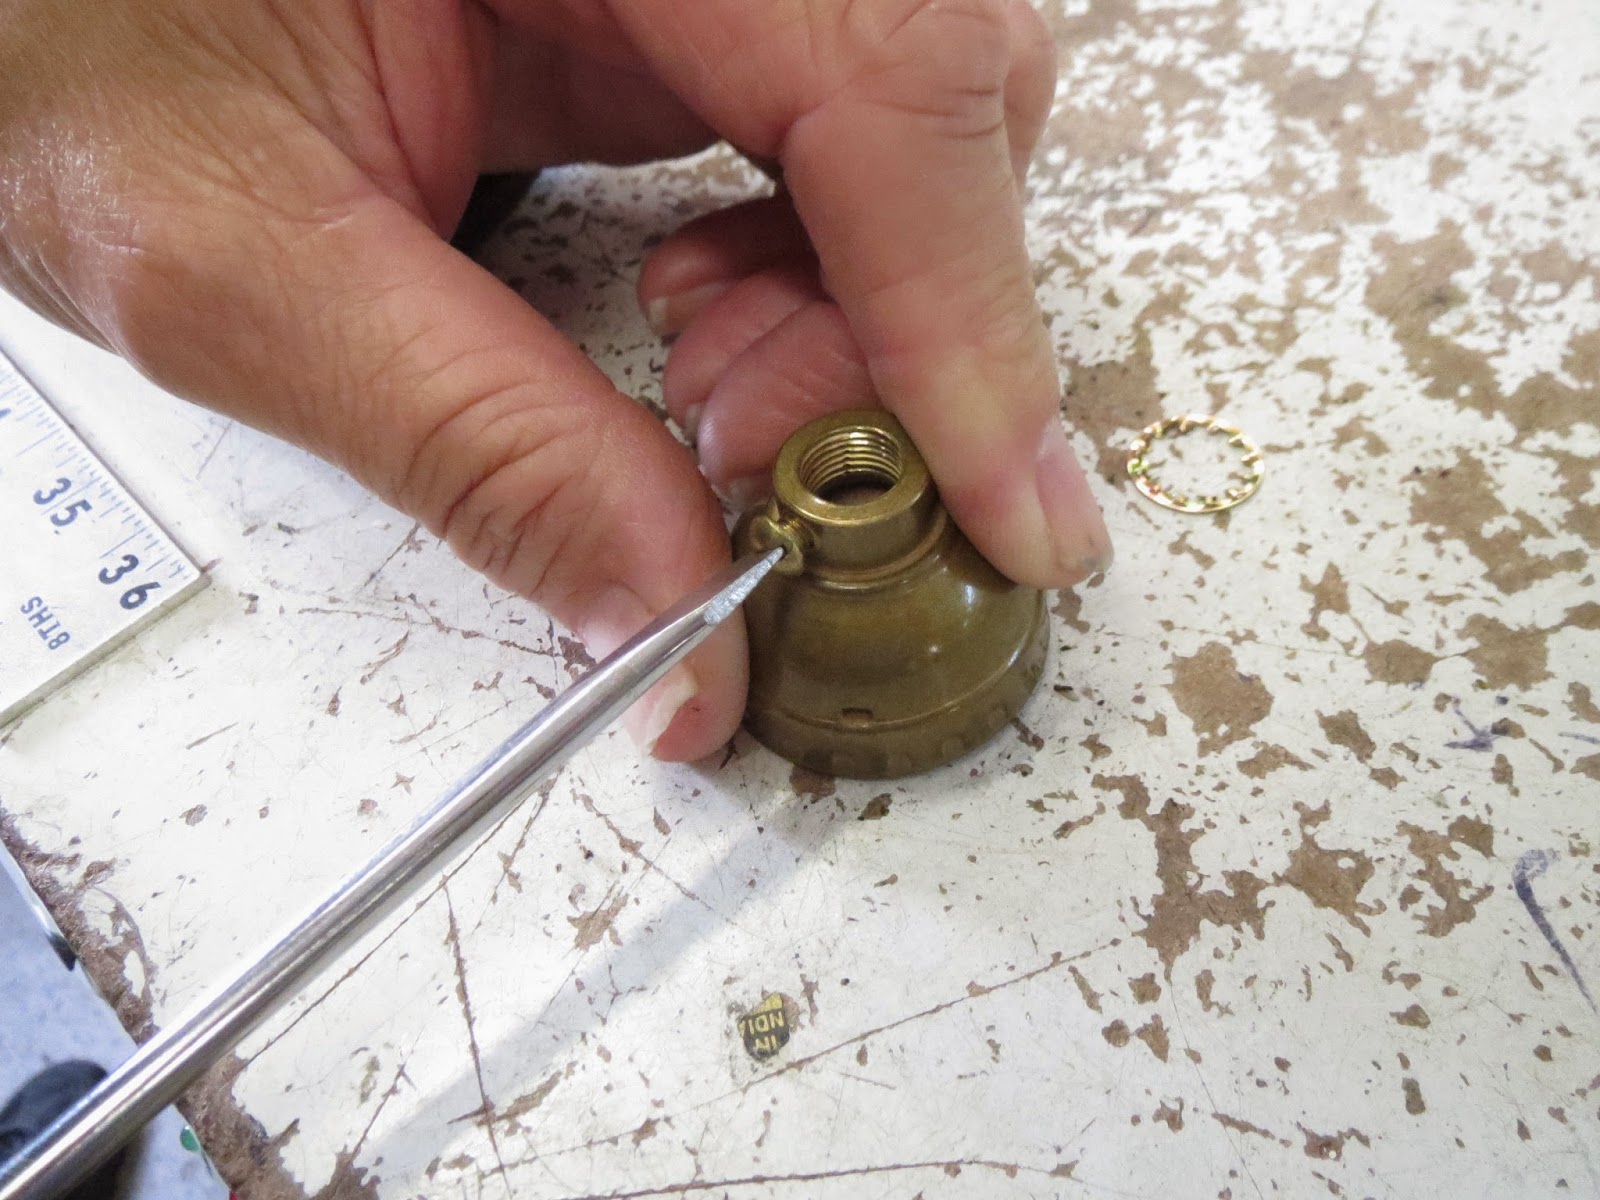
The socket interior is cut from lamp cord and the old cord is pulled through the body of the lamp. The old socket cap is removed and the new socket cap is attached to the lamp.


The new lamp cord is threaded through the lamp body.


A UL Knot is tied in the lamp cord and the new socket interior is attached.


The cord slack is pulled back through the lamp body and the socket shell is clipped into the socket cap.


The harp is put back on the harp base. A bulb is added and the lamp is tested.

Perfect. Total Cost <$14.00 Total Time < 15 minutes
No comments:
Post a Comment