


Most traditional sockets in our repair blog need prying and pulling. This heavy duty socket has a screw collar holding the socket cap with the socket shell.

Our replacement interior is also a 3-way interior.

First we unscrew the socket key and then socket collar.


The socket shell pulls off from the socket interior. The socket interior is removed from the lamp cord.

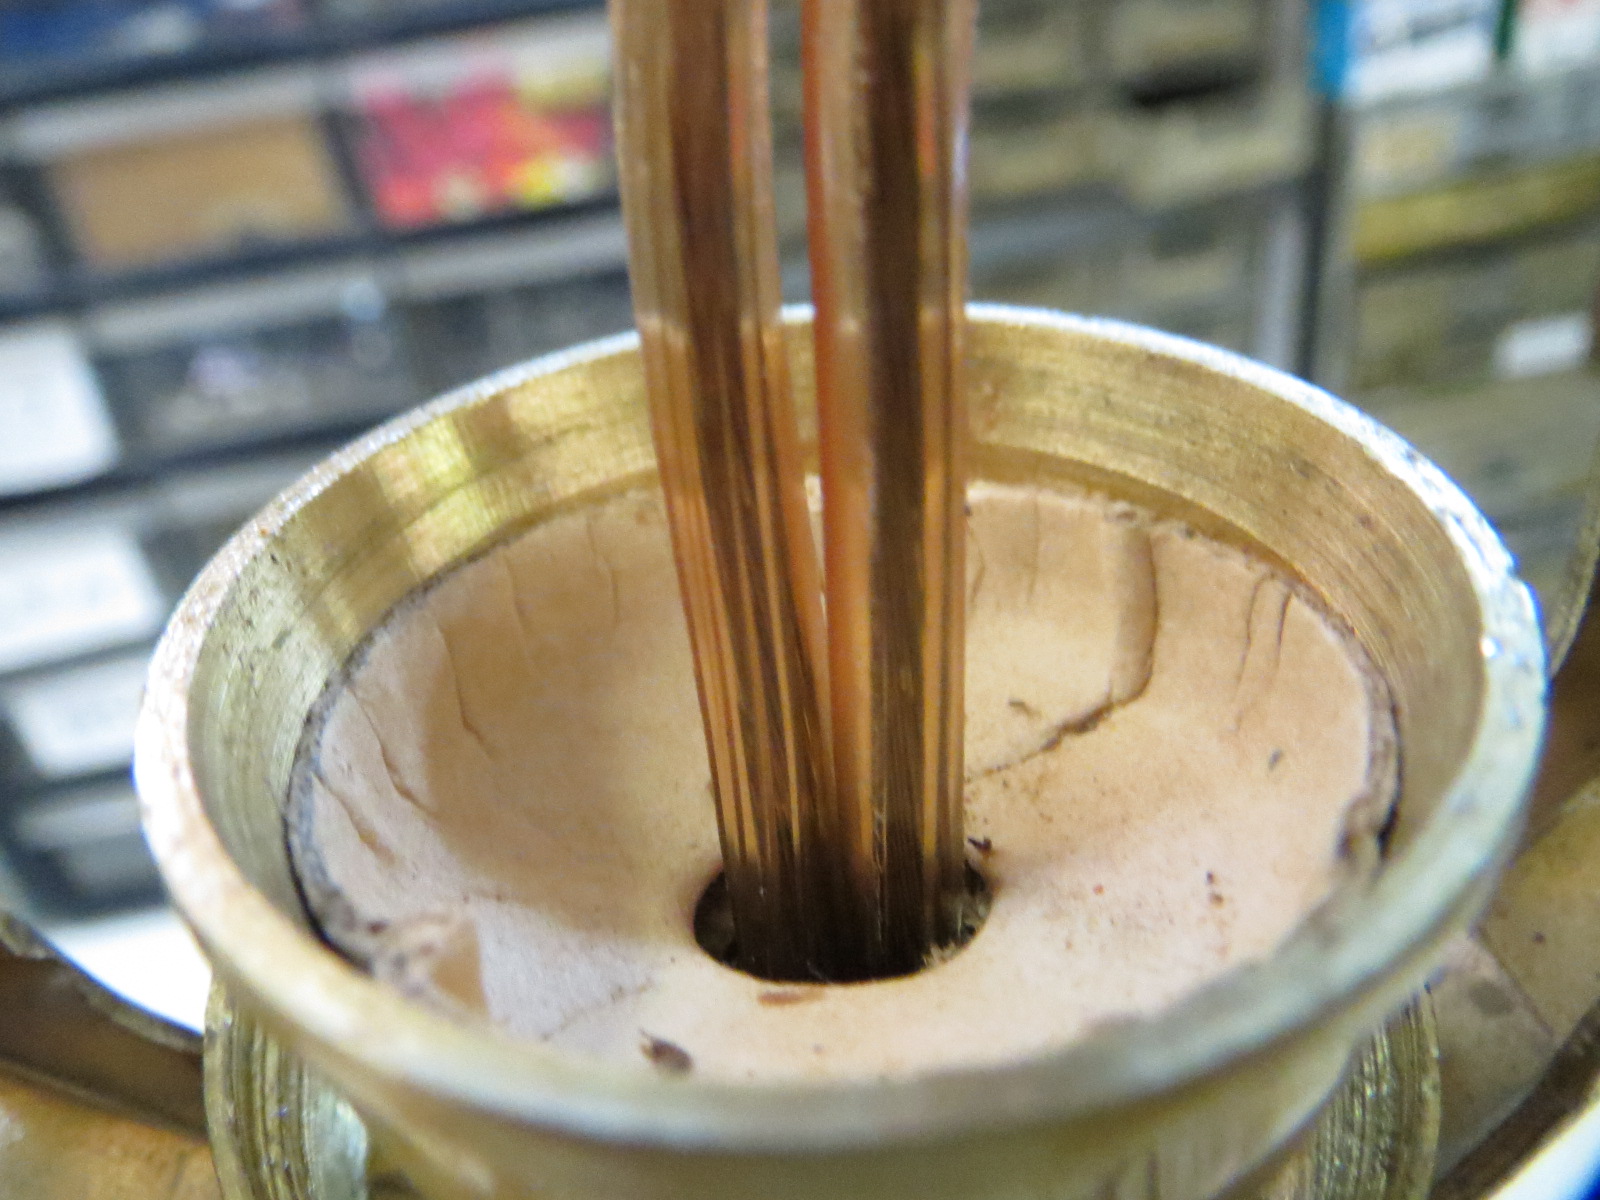

The wire are twisted tight and a UL knot is tied in the lamp cord.

The new socket interior is attached to the lamp cord by connecting the smooth wire to the brass screw and the ribbed wire to the nickel screw. The socket shell is placed back on the socket interior.

The lamp key is replaced and the screw collar is tightened on the socket.

A bulb is added for testing.

Perfect!! Total Cost: < $ 5.00 Total time < 20 minutes
No comments:
Post a Comment