Showing posts with label dimmer switch. Show all posts

Wednesday, November 15, 2017

Replacing a Dimmer Socket with a Turn Knob

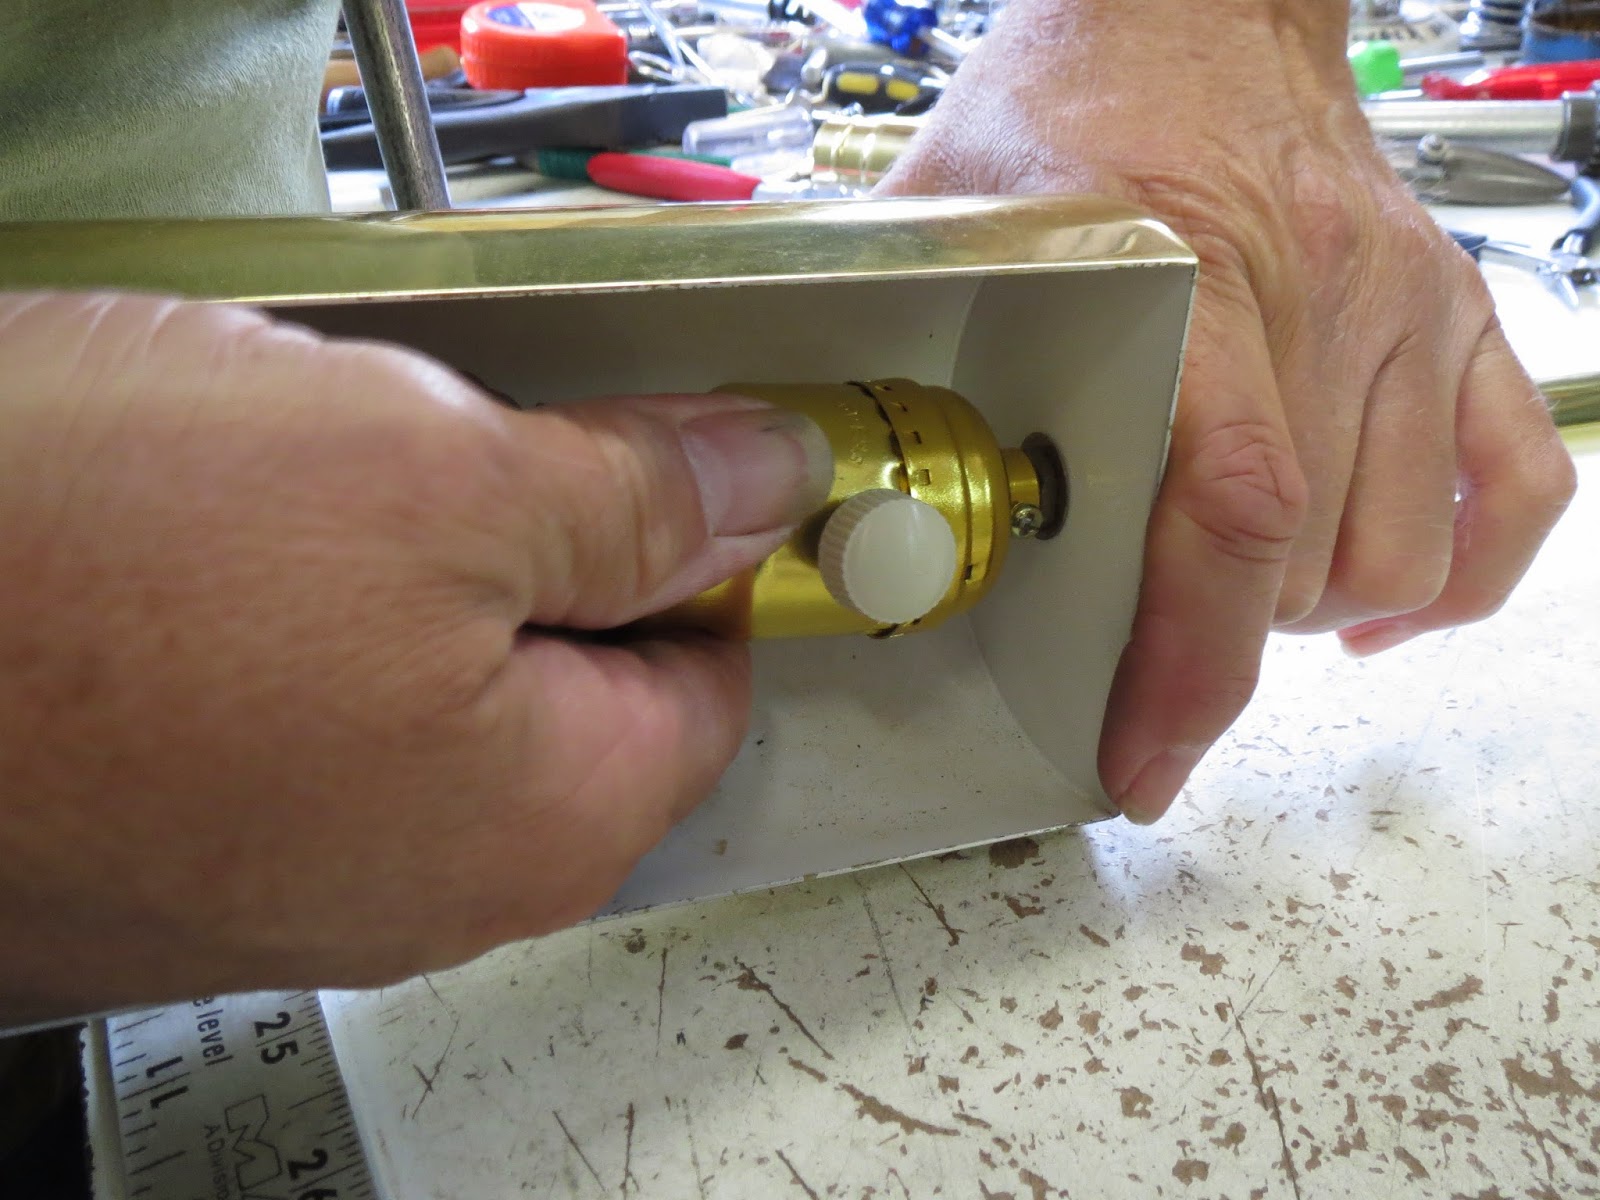
A customer brought in this lamp the other day and complained the dimmer switch was bad. Full range dimmer switches are a mechanical device and have a higher tendency for failure. The customer decided a regular turn knob socket would work better so we changed the socket interior.


The only lamp part for this repair is a Medium E26 on/off socket interior.

48201i - On/Off Medium Base E26 Socket Interior With Short Mandrel
First, we start be removing the lamp harp. The locking covers slide up and the harp base is squeezed out of the harp saddle.


Next, we open the socket to remove the socket shell from the socket cap.


Now, un-wire the old socket interior (the dimmer socket) from the lamp cord.


Wire the new socket interior on the lamp cord. Make sure you connect the smooth lamp wire to the brass screw on the socket interior. The ribbed lamp wire connects to the nickel screw.


Next, tuck the lamp cord in the socket cap and pull the cord from the base of the lamp to reduce excess cord in the socket. Slip the socket shell over the socket interior. Snap the shell in the socket cap.


Add a bulb and test the lamp.


Perfectly good working lamp. Total time < 15 minutes Total Cost < $2.50

Wednesday, August 6, 2014

Brass Floor Lamp with Dimmer Socket

This patient was brought in the other day and complained the socket was not working. It has a dimmer socket and the parts (resisters and such) can wear out and go bad.


The only lamp part we need to replace is the full range dimmer switch. Specifically, we are going to use a Leviton Brand Fat Boy Dimmer switch for the replacement.


First the socket shell is removed from the socket cap.


The socket cap is removed from the lamp by loosening the set screw and unscrewing it from the lamp. The lamp cord on this lamp is polarized and does not need to be replaced. The wires coming to the socket are short and it is hard to identify the ribber wire and the smooth wire. Using a voltage meter, the wires can be identified. The large prong on the plug is the white, common or ribbed wire and needs to be connected to the silver screw on the socket. Using the ohm setting on the  voltage meter we identify the wire and mark it with some paint. NOTE: A ohmmeter measures resistant of the circuit. We are only using it to find the corresponding wire to the plug.


The new socket cap is placed on the lamp. Using the small clamps the new dimmer socket interior is wired.


The socket interior is placed in the socket shell and the shell is clipped in the socket cap.


A bulb is used to test the lamp.


Nice. Total Cost < $35 Total Time < 20 minutes