Showing posts with label lamp switch. Show all posts

Tuesday, January 31, 2017

Inline Switch Replacement

A customer brought in a lamp with an inline floor switch.

40122 - Push Button Floor Switch


They said it didn't reach the floor and was awkward to use by hand. They wanted to change out the floor switch for an inline rocker switch.


First, of course we inspect the lamp for other issues. Make sure the cord is not crimped, burned, nicked or damaged. Check the prongs for polarity. Feel the switch mechanism for a tight click. WHY? 1) Safety is important. 2) We want to fix things, not patch them.

This lamp checked out so we only need to replace the inline switch. UNPLUG THE LAMP! We start by disassembling the floor switch.


Now remove the wire from the center part. Two set screws hold the wire in place.


Next, we get our new switch ready for installation.


The rocker switch uses tiny prongs to pierce the wire sheath. There is no need for the stripped wires in the rocker switch so they are clipped off.


The lamp cord is tucked into the rocker switch.


The bottom of the switch is attached to the top.


Viola! New switch installed.

Note: If you are installing an inline switch for the first time and are not sure what cord to cut, the hot wire (smooth cord) is the one normally cut to add a switch. The neutral (ribbed wire) is left intact.

Monday, October 13, 2014

It's OK to Call This Lamp Socket a Fat Boy

The origins of this name are bit shady, but one thing is for sure. It's a proud name. Like most industries we have a jargon that gets lost outside of the industry. There is one name that can be used: Fat Boy. Leviton makes the Fat Boy socket and we can only imagine the name is in reference to its large stature.

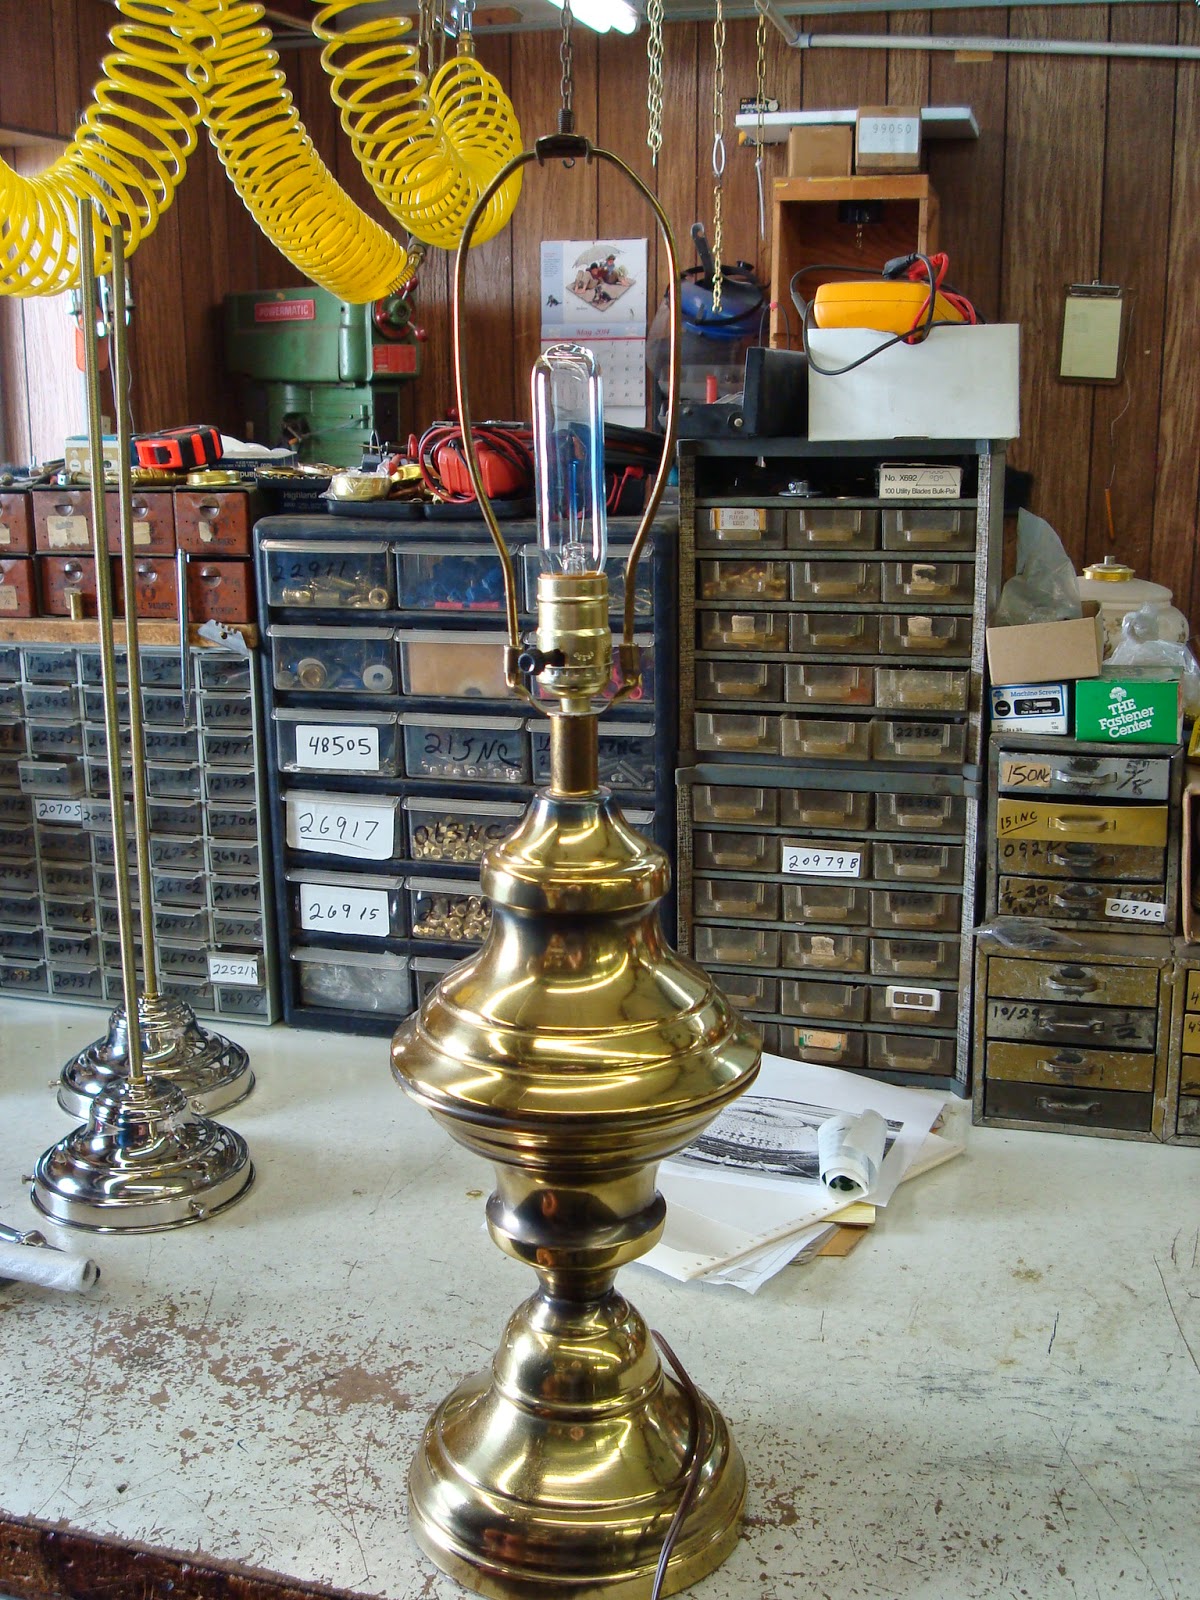
A customer brought in this antique looking brass lamp the other day with a, you guessed it, Fat Boy socket. They wanted it to be rewired and inspected. The obvious  thing was the old plug on the cord. The lamp parts needed to fix this lamp include a lamp cord, fat bot insulator, set screw, and socket key.


First thing we do is remove the felt bottom. We want to get access to the cord so we can easily rewire it. This lamp was full of something. It was hard and crusty. This process was not going to be easy.


It was time to regroup the strategy and not carve out the mess in this lamp body. Looking at the tube the cord went through, it looked like it had space and we could use the old cord as a leader line to pull the new cord through the lamp. The bulb was removed and the socket was opened. The socket shell pried open from the socket cap.


The cord was un-wired from the socket interior.


There were only two things wrong with this socket: the key was rough and chipped, and the insulator looked like it was 200 year old.


To pull the new cord up this lamp the old cord needed to be cut and stripped. Using the small clamps to hold the cords together, the cords are soldered to each other.


The solder cools for about 3 minutes. From the top of the lamp, at the socket cap, the old cord it pulled out of the lamp and the new cord is still attached.


The new cord is clipped, stripped and a UL knot is tied. It is attached to the socket interior. The smooth cord connects to the brass screw and the ribbed cord attaches to the nickel screw.


The socket cap seems a bit loose and the shade holder is spinning, so the cap is tightened and a missing set screw is replaced.


The cord slack is pulled from the base of the lamp so the socket interior sits on the socket cap. The socket insulator is replaced in the shell and the shell is snapped into the socket cap.


The new key is screwed on the socket. A bulb is added and the lamp is tested.


Nice! Total Cost <$7.00 Total Time < 30 minutes.

Here is the lamp with a Opal Glass Student Shade:

**No feelings were hurt in the making of this post.

Thursday, June 5, 2014

Touch Lamp with a Bad Touch Switch

This patient was brought in and described as having a faulty touch switch. We see a lot of touch lamps in the shop and the switches are known to go out and need to be replaced. This lamp was a little odd to have a switch on the socket as well as the touch switch. The tricky part of having the two switch on one lamp is neither switch has an on/off indication so it can be confusing if you expect the lamp to come on or go off and the other switch has the circuit open (off) or closed (on).
touch lamp switch replacement
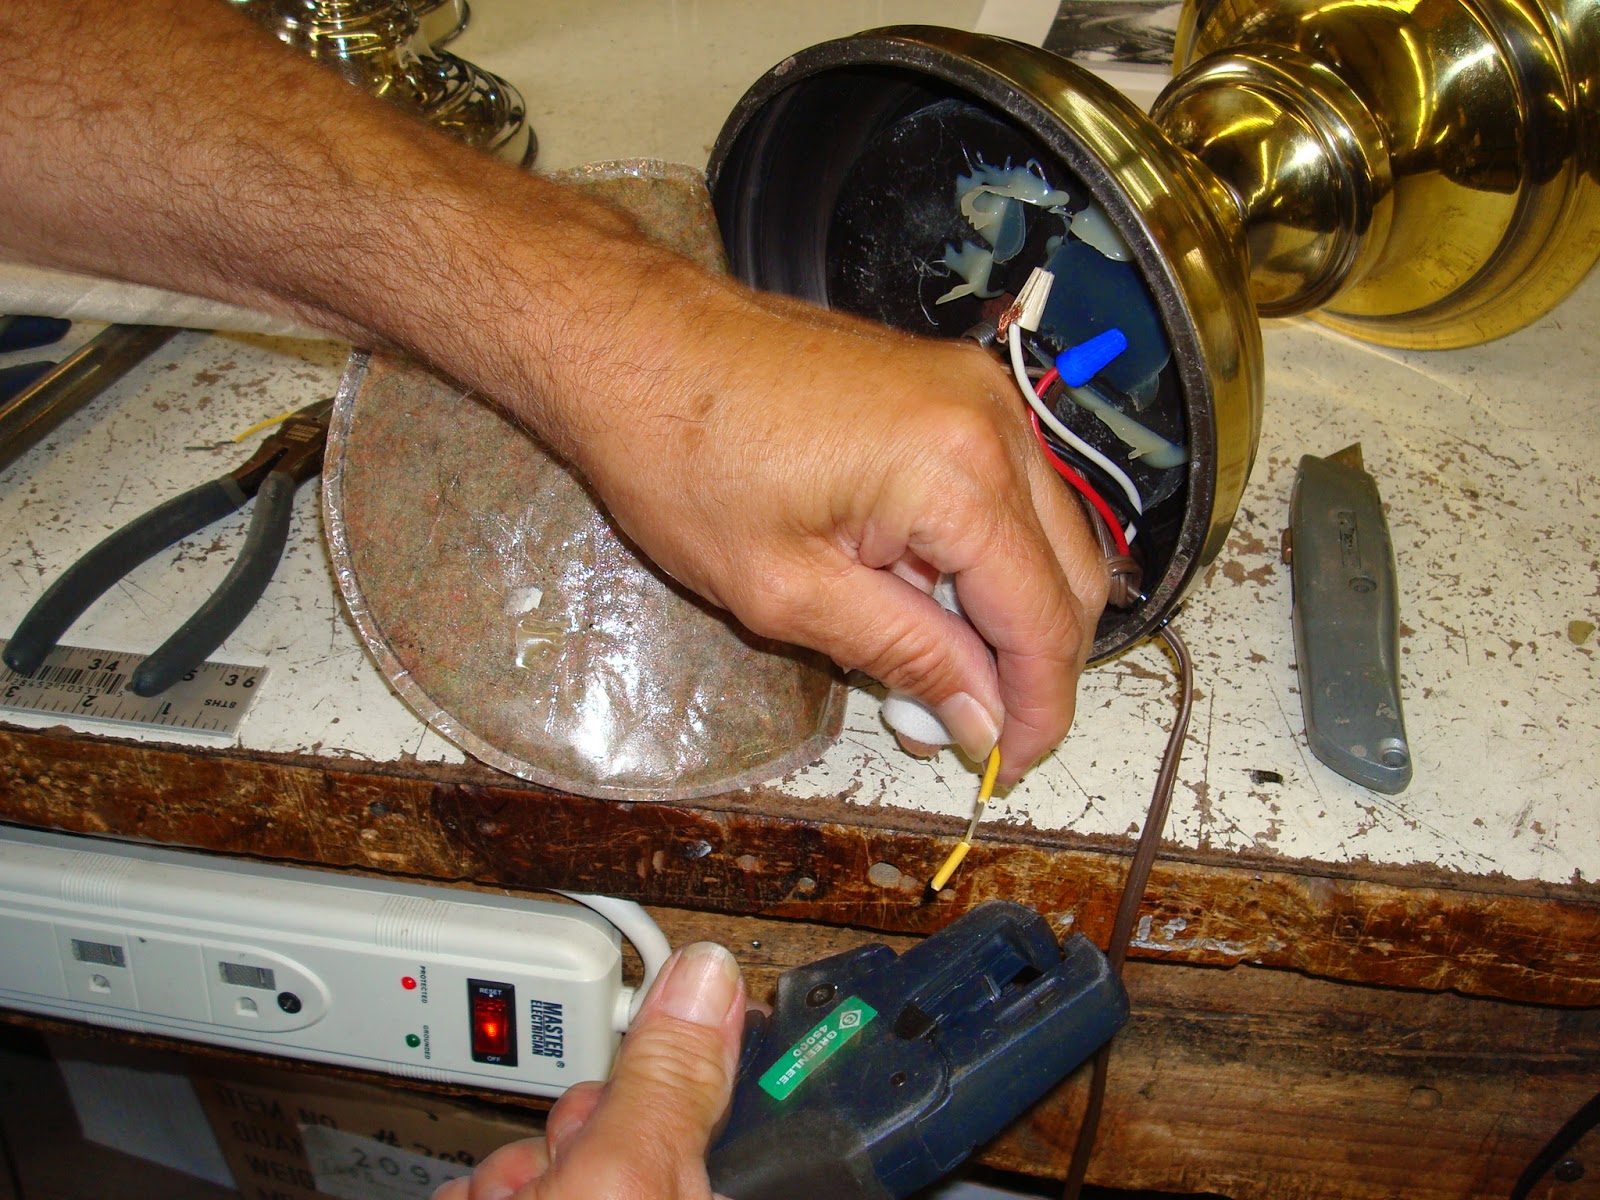
First thing we do for this lamp is to see what is going on with the touch switch. I plug the lamp in with a good bulb and the touch feature is working fine. The switch on the socket is working as well. I cannot replicate the customers complaint, but I will want to see if there might be a short somewhere. A short in the touch switch could cause it to never come on. I put the patient on its side and peel off the felt bottom.
touch lamp repair
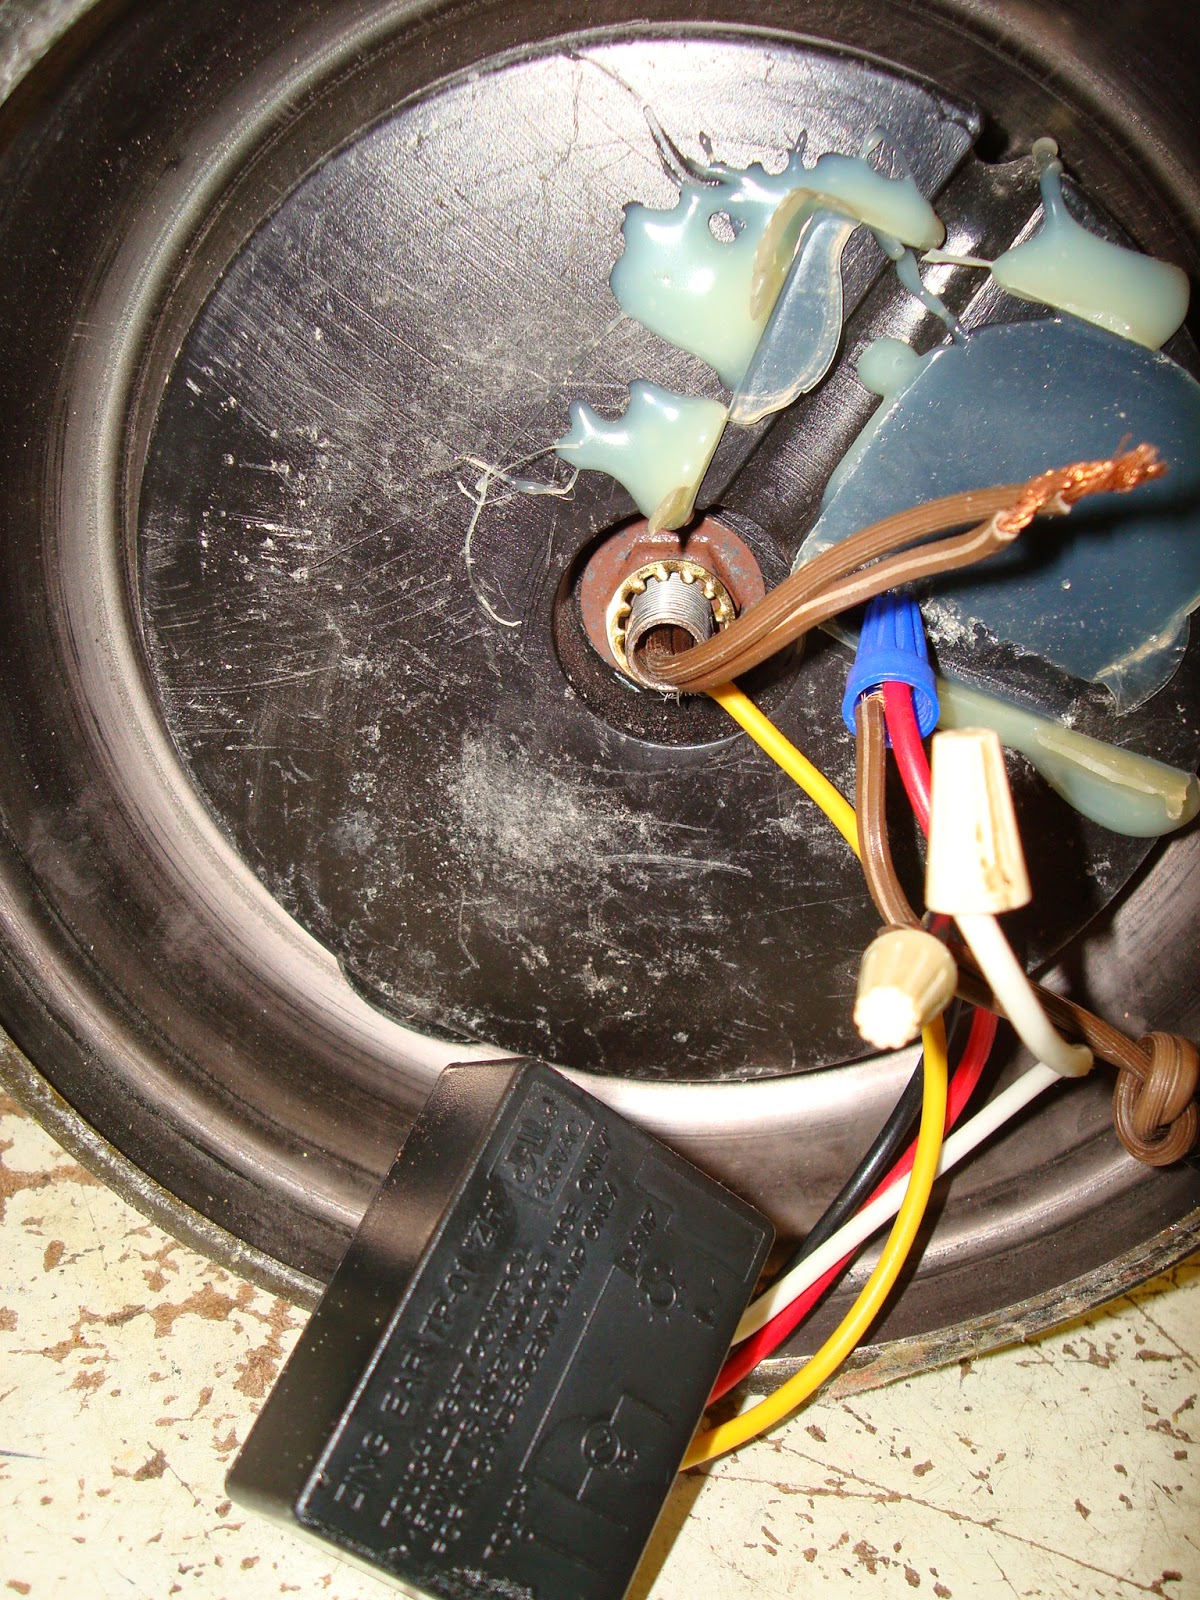
I want to go slow so I can reuse the felt bottom. Felt is not expensive, but if I can avoid the cost and use of additional materials I will. Once the felt is peeled back I can see the yellow touch wire (connects the touch switch to the lamp body) does not have a great connection and might short out. This is not an electrical hazard since this cord is supposed to be touched to turn the lamp on/off, but a bad connection could cause a failed response.
touch lamp repair bottom
The switch has come loose from its glue on the bottom. That is not bad, but the movement of the switch in the base cavity means a secure connection is more important. To fix this problem I clip the wire connector from the wire and strip the wire about 1/2 inch.
touch lamp repair strip wire
I wrap the wire end around a lock washer and use a steel nut to secure it to the threaded lamp rod. This rod runs the length of the lamp and connects all the metal parts to the switch. Perfect so any part of the lamp will activate the touch switch.
touch lamp switch repair
I reconnect the wires to the switch and replace the felt base. If the switch were bad and need to be replaced I would perform roughly the same steps. Fortunately this lamp only needed a minor repair and no major parts. Total time: <15 min. Total cost: $0.40