Often an item will come in the shop and a customer will ask: Can you make this into a lamp? The answer is YES 99.7% of the time. This request is very common so I want to post the
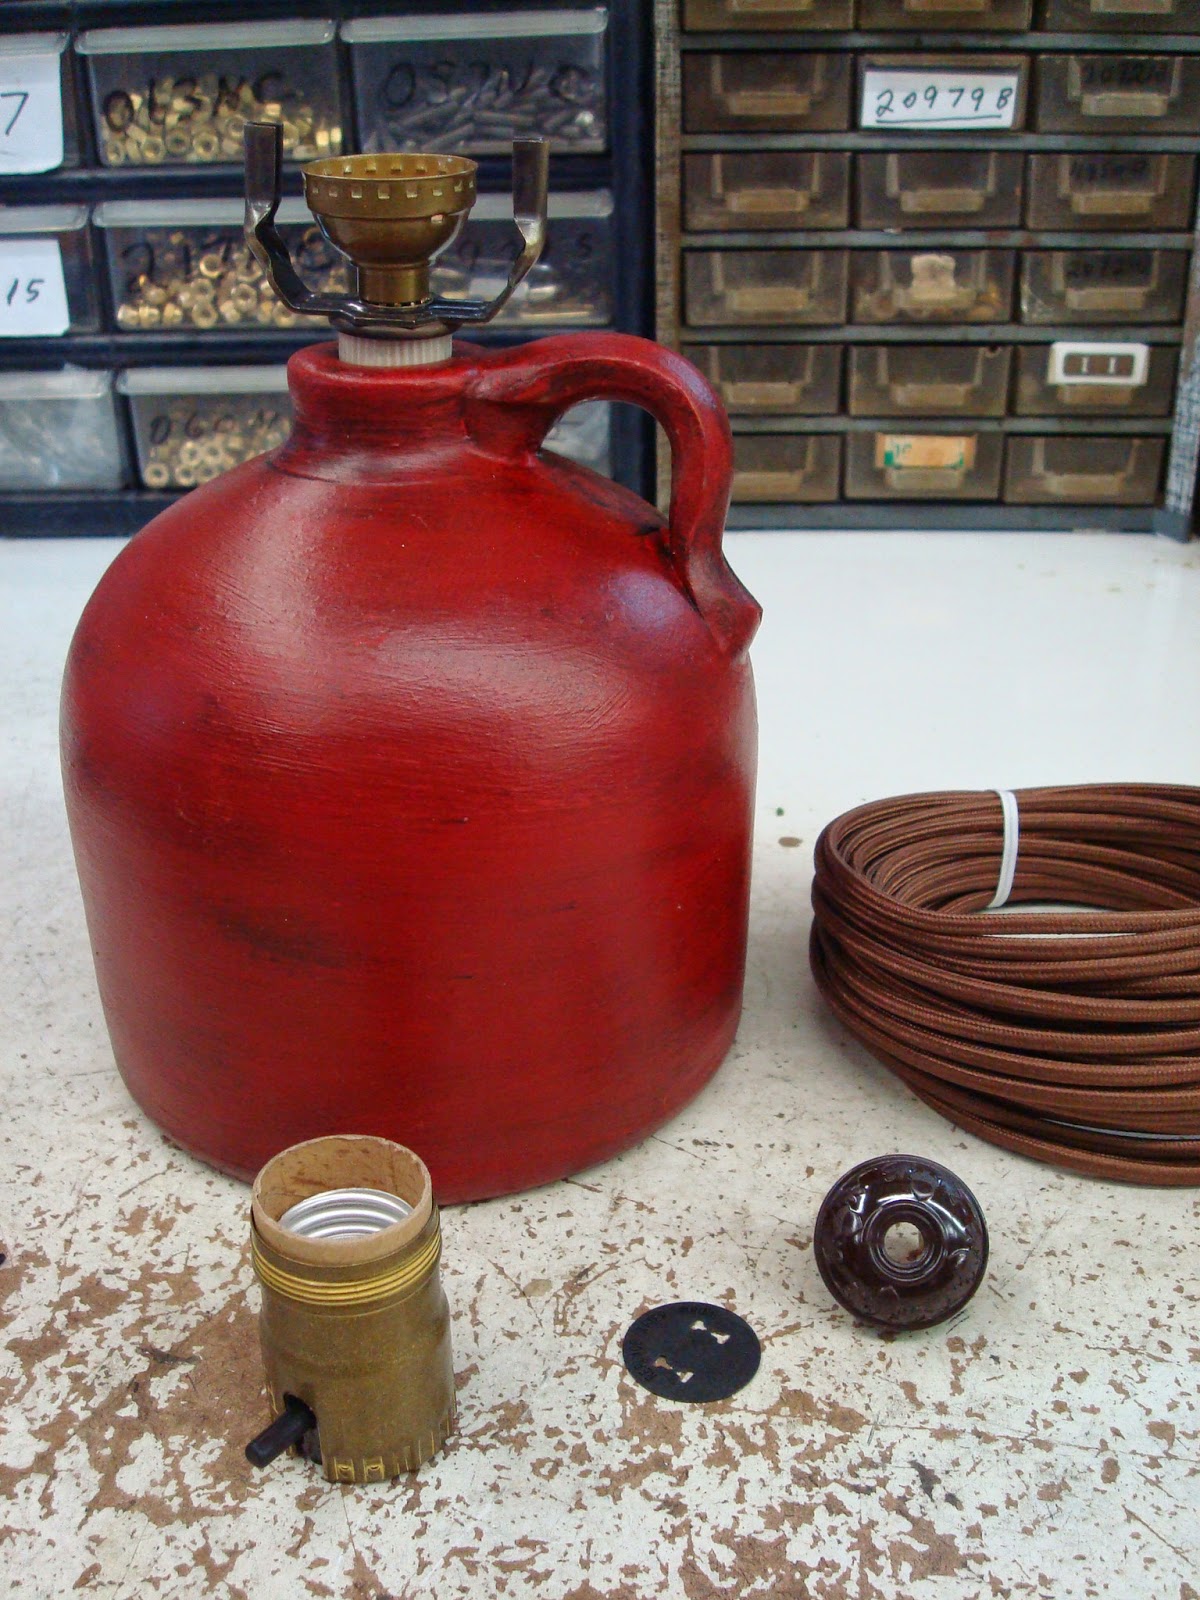
lamp parts needed and procedure to make custom lamps. In this post we will be making a lamp from a small red jug. The customer tells me she wants a 3 foot
rayon covered lamp cord,
antique style plug,
harp base for mounting a harp and lamp shade, and a
push-thru socket in antique brass finish. In addition to the requested items I will need a small
threaded rod, a rubber gasket,
antique brass seating ring,
locking washer, and a
knurled brass nut. (These
lamp parts are sold as a kit.) I gather all the parts.
The first thing needed is to put a hole in the socket cap. This jug is solid and does not have an outlet for the cord to come out. Using a punch tool, I make a small hole in the socket base. I use a small plastic
snap type plastic bushing in the hole to insulate the cord and protect if from rubbing against the metal edges on the socket cap.
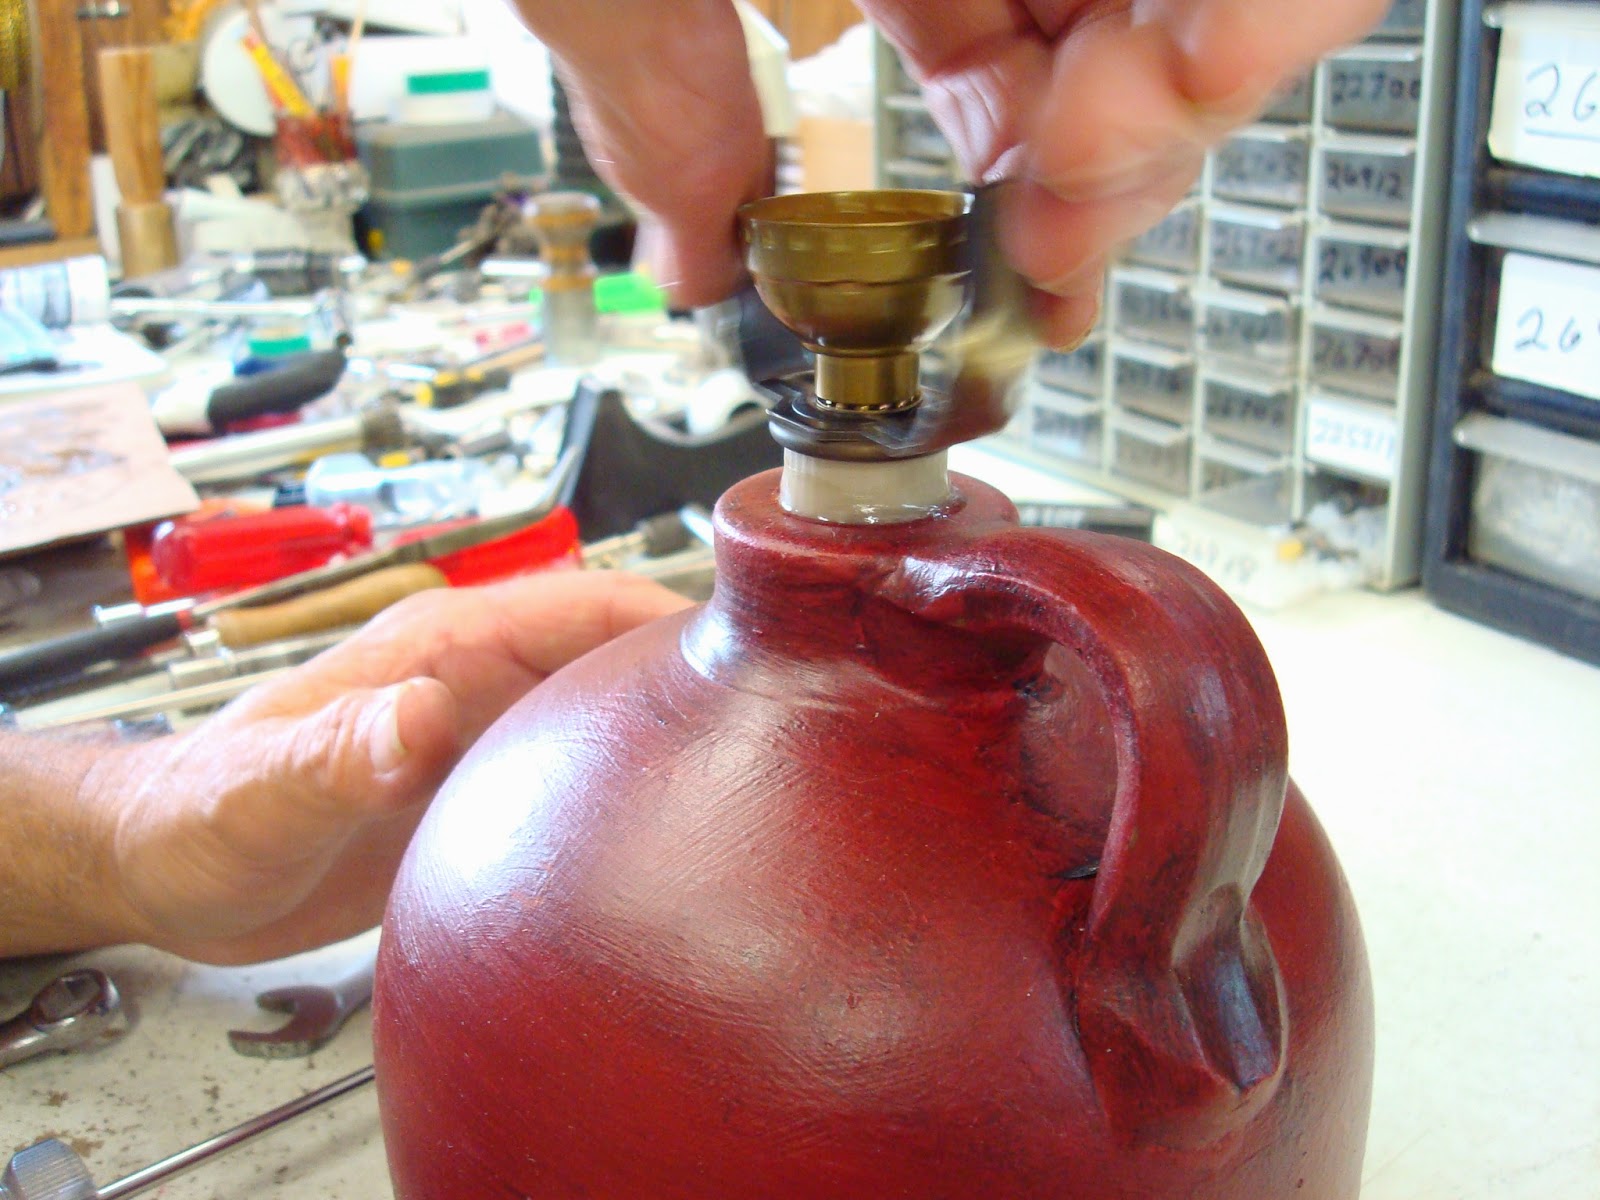
The socket cap goes on top of the threaded rod. In order I place the lock washer, harp base, seating ring, rubber bushing, and locking knurled nut on the threaded rod.
I tighten the knurled nut to help expand the rubber bushing for a sung fit in the top of the jug. I mix a little glue so this is a permanent setting. You could leave the glue out, but you should consider the safety of the lamp with the weight of the harp and the shade and how well the rubber bushing fits in jug. I coat the rubber bushing generously and slowly insert the socket base in the jug using a twisting motion to help evenly apply the glue. I want to make sure the final position is where I want the socket orientation to be with front and back of the jug before the glue sets.

Next we will cut the cord to length and wire the plug. The owner asked the cord be 3 foot long. For wiring the plug and the socket, I want to add about 7 inches to the section of cord cut. I strip the rayon covering about 2 inches from the end of the cord then strip the wires about 3/8 inch. For safety and to help the rayon from unraveling a knot is tied in the cord. The new
antique style plug is polarized with a small and large prong. This plug also has a brass and nickle screw. In this case the black wire goes to the brass screw and the white wire to the nickle screw. Using a flat-head screw driver, I firmly press the knot into the plug.


For wiring the socket another two inches of rayon is stripped and 3/8 inch of wire sheath. I tie a similar knot in the socket.
This is not a UL knot, but serves the same purpose. The black wire connects to the brass screw and the white wire to the nickel screw. This
solid brass antique style pushthru socket should have a front/back orientation not to interfere with the posts on the harp base. with the socket wired, I slip on the insulator and socket shell. The shell snaps into the socket cap with a click on both sides. Using your hand, grasp the socket shell and try to pull the shell from the cap. It should not come off without a tool prying the shell from the cap.
This lamp looks great and I think the customer will be happy with the way it turned out. After visually inspecting the lamp, I add a bulb and plug it in.
Brilliant!


No comments:
Post a Comment