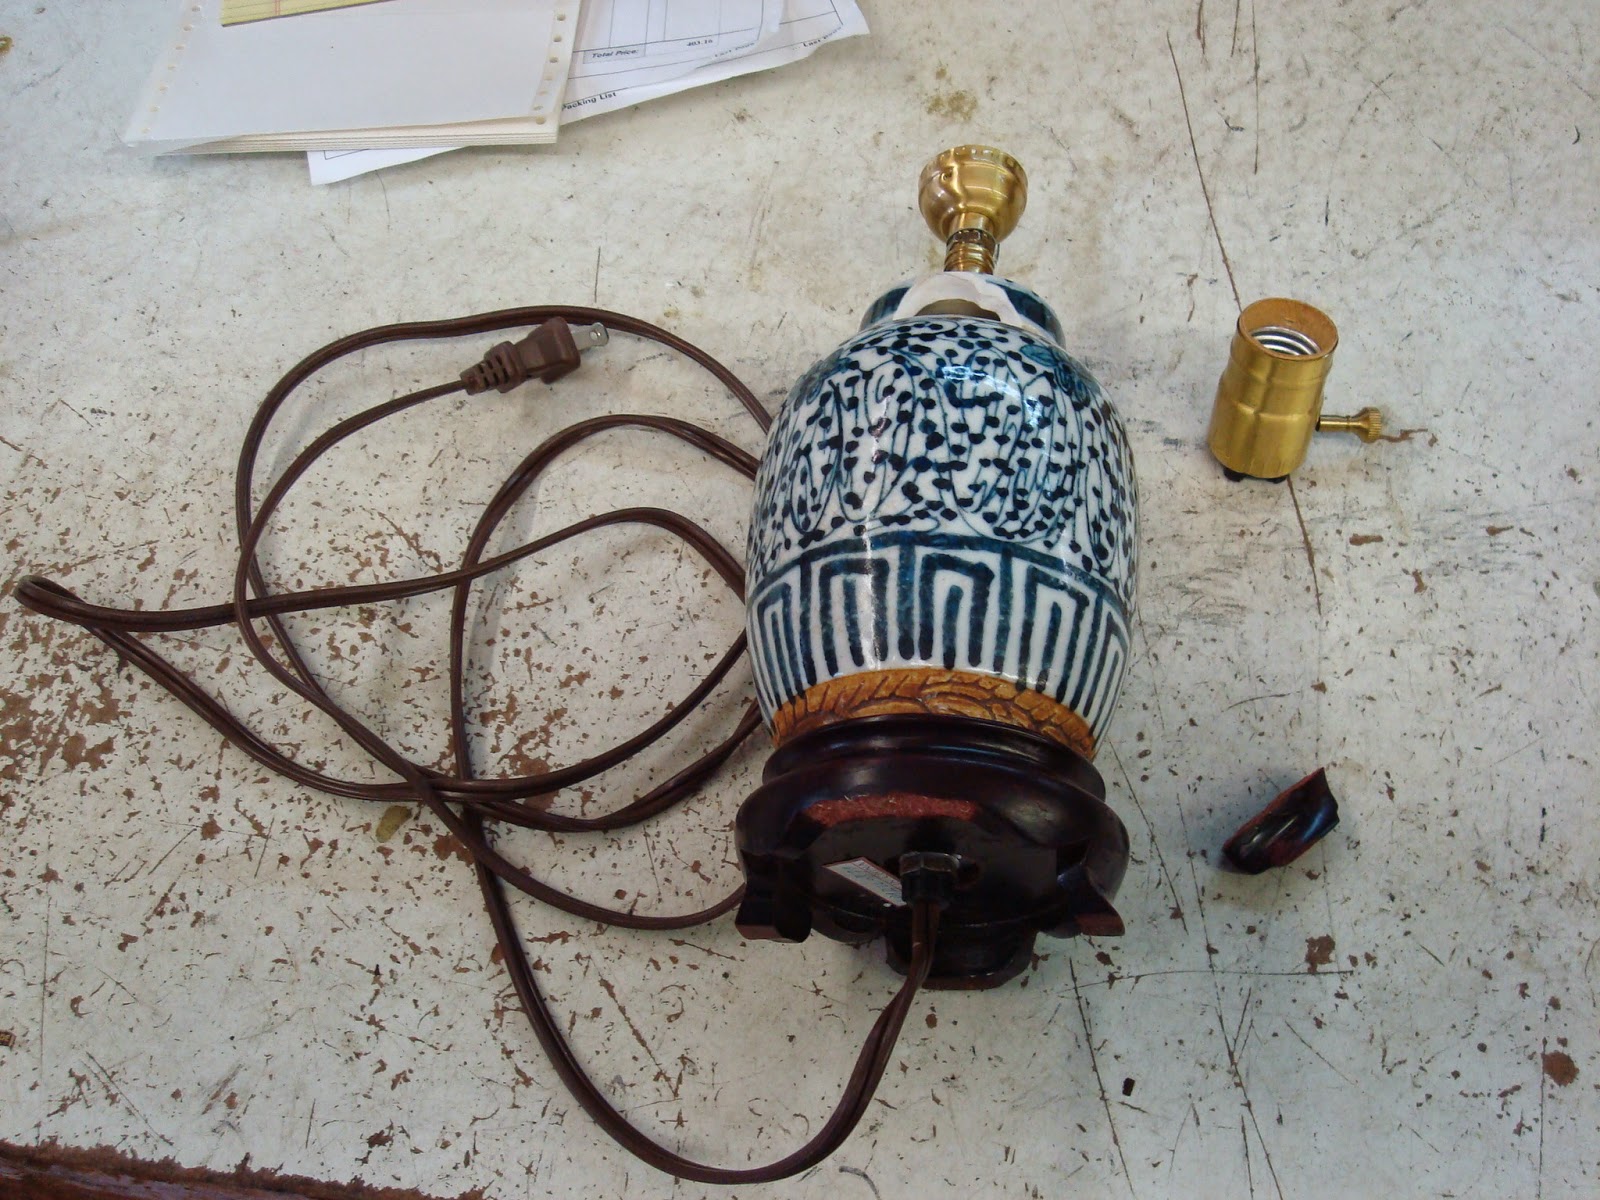
While replacement wooden lamp bases can be purchased, we are going to try to fix this one simply by gluing the broken piece back in place. Many types of glue will work with this wood. Next we move to the socket. This lamp was brought in with the socket shell removed from the socket cap. It is apparent this socket interior has a unique design. It has a quick connecting system that does not require an wire stripping or screwing onto posts.
 |
| New socket interior on the left and old socket interior on the right |
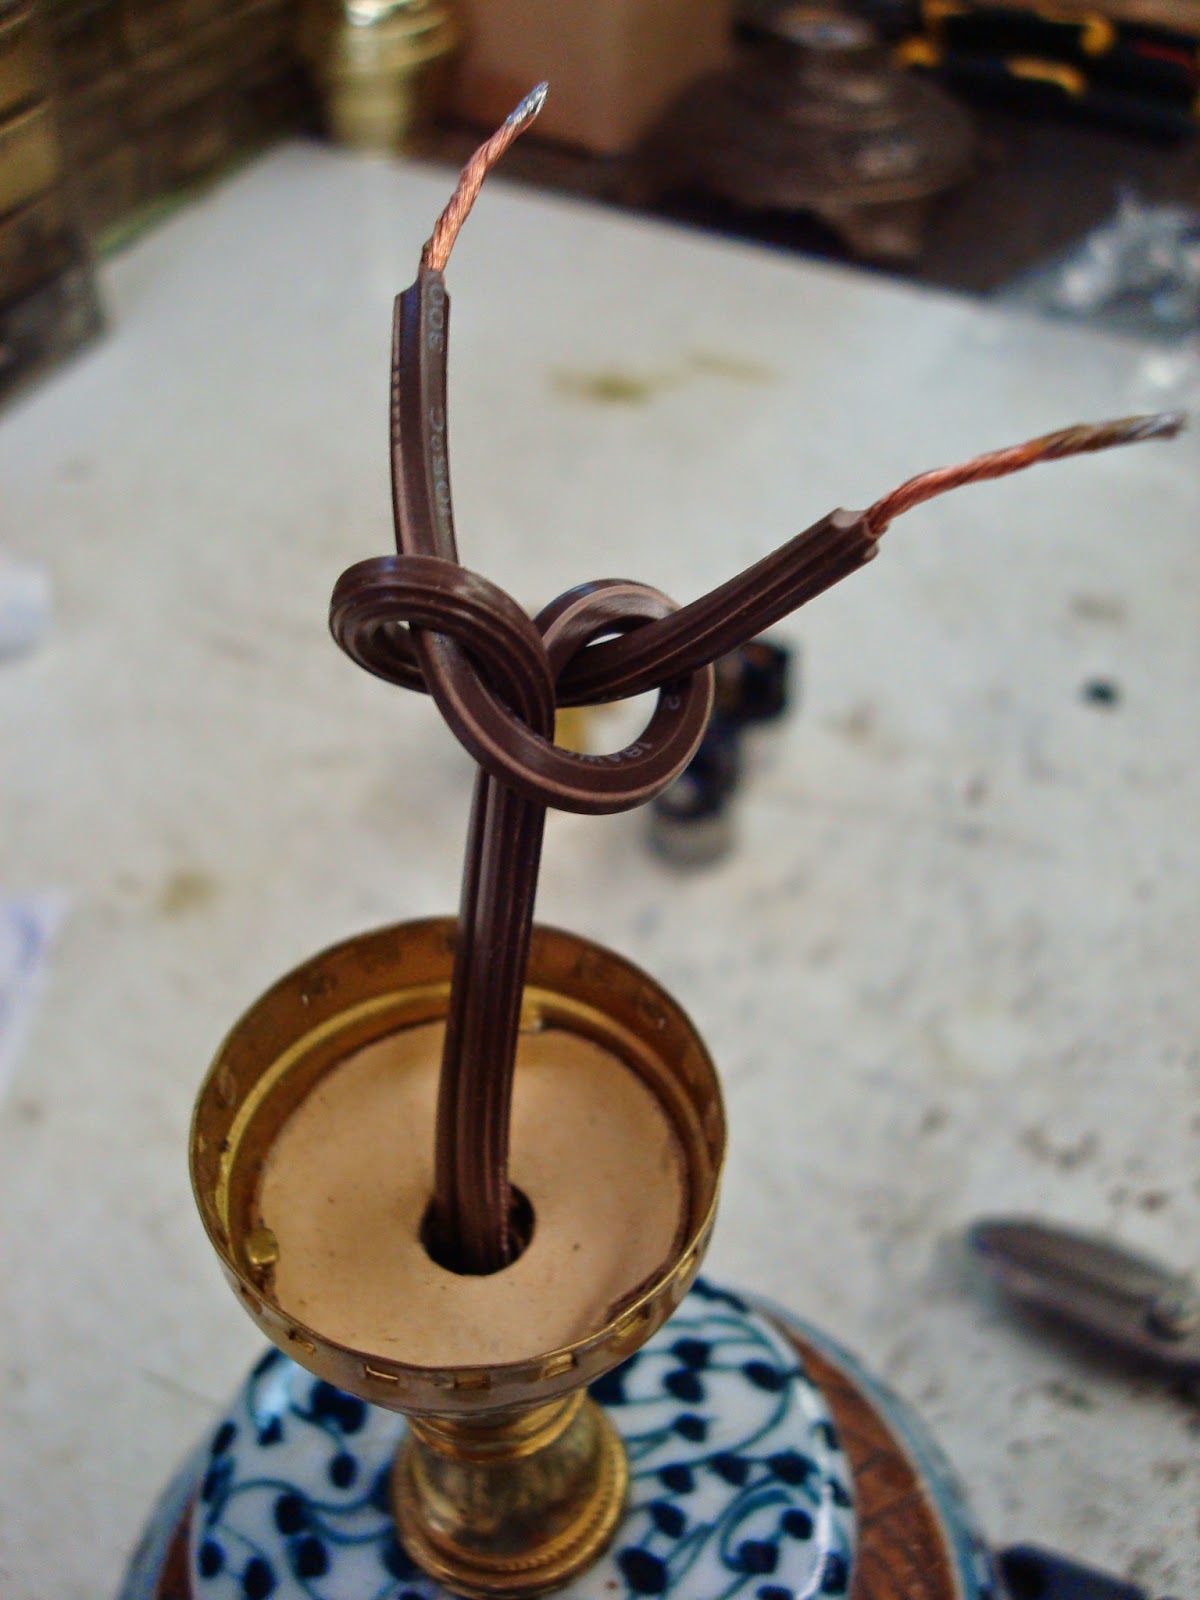
Being a professional lamp shop, we solder the wire ends. It helps keep the wires together around the post. A tight twist of the wires for home repair would be adequate.
Now we are ready for our UL knot in the wire.
The new socket interior is attached. The ribbed wire goes on the silver screw and the smooth wire goes on the gold screw. This makes sure the lamp is polarized. With the socket attached, the cord slack is pulled through the lamp body. The socket shell is snapped onto the socket cap. The customer did not bring the lamp's shade in with the lamp, but since there is no harp base the shade it probably a bulb clip shade. The orientation of the socket key is not too important with no obvious front or back to this lamp.
The cord is plugged in and a bulb screwed into the socket. We test the work.
Perfect. For this repair we used some wood glue on the base and a new lamp socket interior. Those were the only lamp parts needed. Total cost: <$3.00 Total time: < 10 minutes


No comments:
Post a Comment